How To: Getting Together Soaps, A Second Innings
The Soap Bits Problem
Okay, so this is about some soap bits lying around in my soap case. Every time a soap hits its breaking limits, it pains me. I can’t use it well enough, but I also can’t throw it away. I don’t like wasting stuff.
My father had this way of merging the soap into a new one at the right time. But that needs extreme skill, as they tend to come out soon if not done right. I decided to melt and merge.
The Melting Experiment
Its Saturday, and I am free as hell.
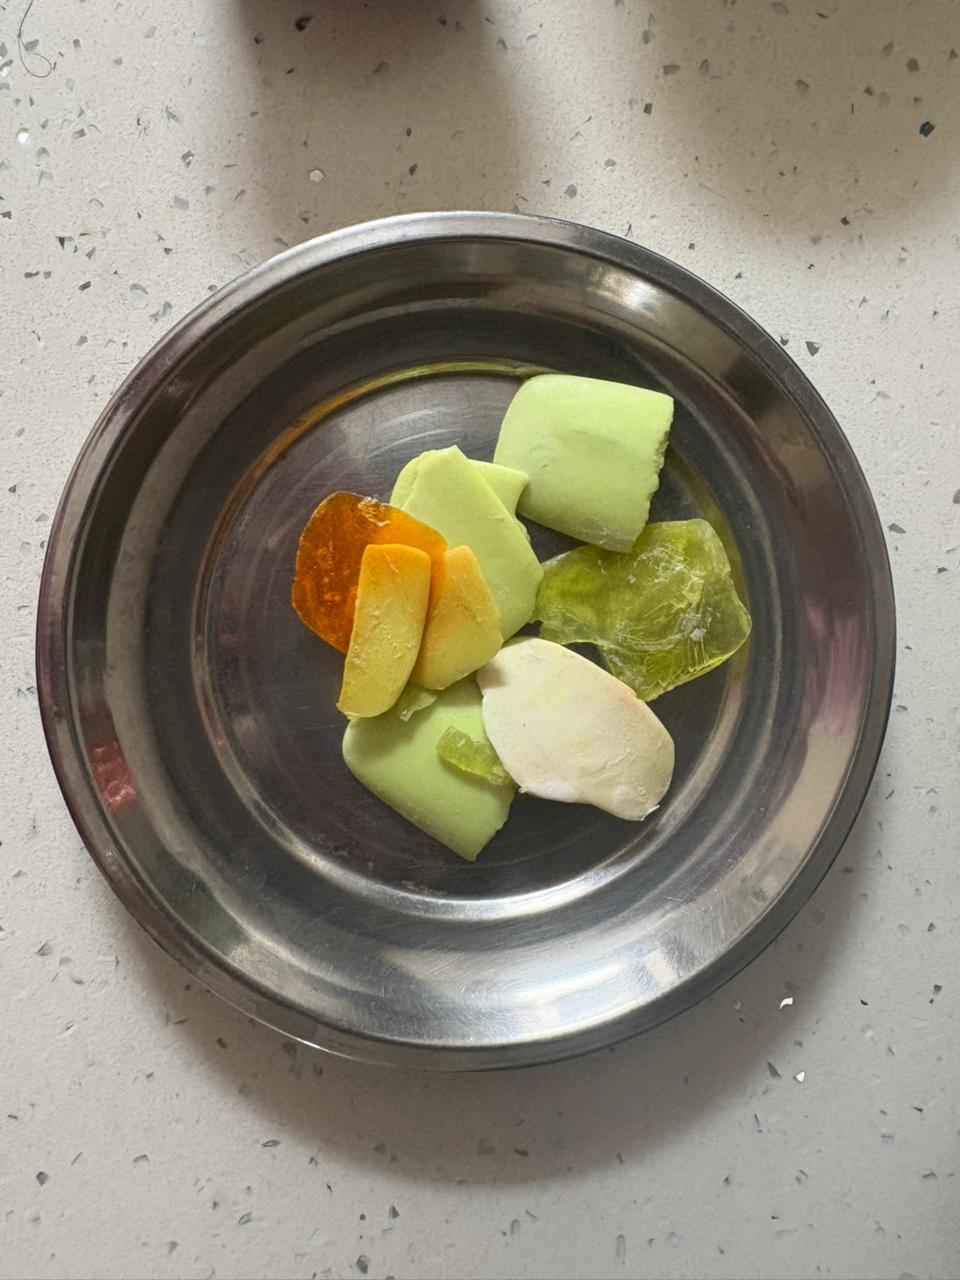
Meet my soap bits.
I started by reaching out to Gemini. Pretty much for everything, its becoming a preferred choice even over Google.
So there were three techniques it suggested:
- Melting the soap bits to make a new soap
- Merging the soap bits to an existing soap
- Preparing a liquid version of the soap by boiling the chunks in lot of water
The second way wasn’t as appealing as stated. The third one came with an added danger of bacterial contamination from tap water. So I went ahead with the first one.
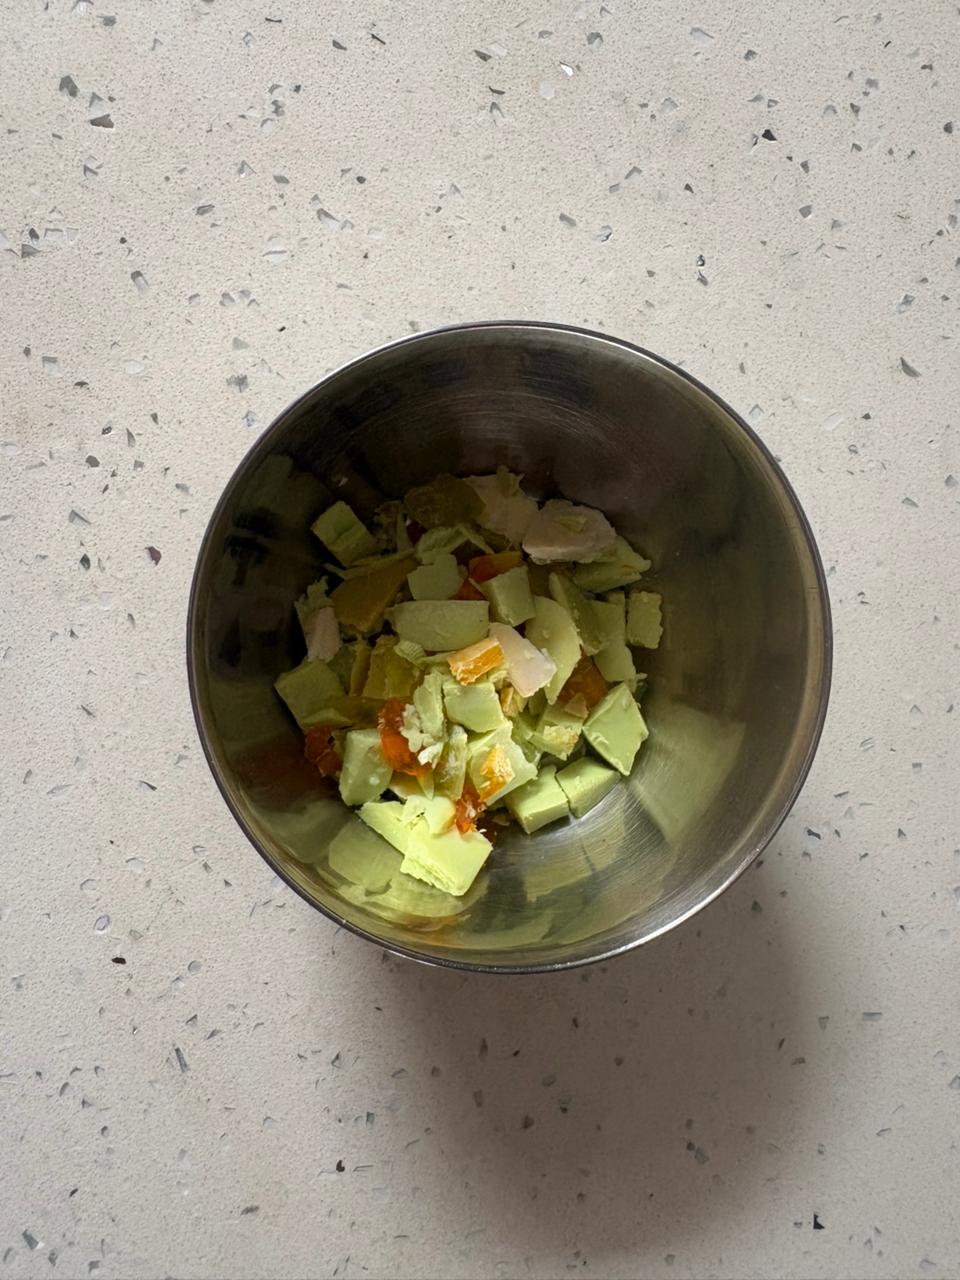
First we make smaller pieces of the soap. Grating was suggested, but it would waste a lot of the soap as its soft. I went ahead with using a knife.
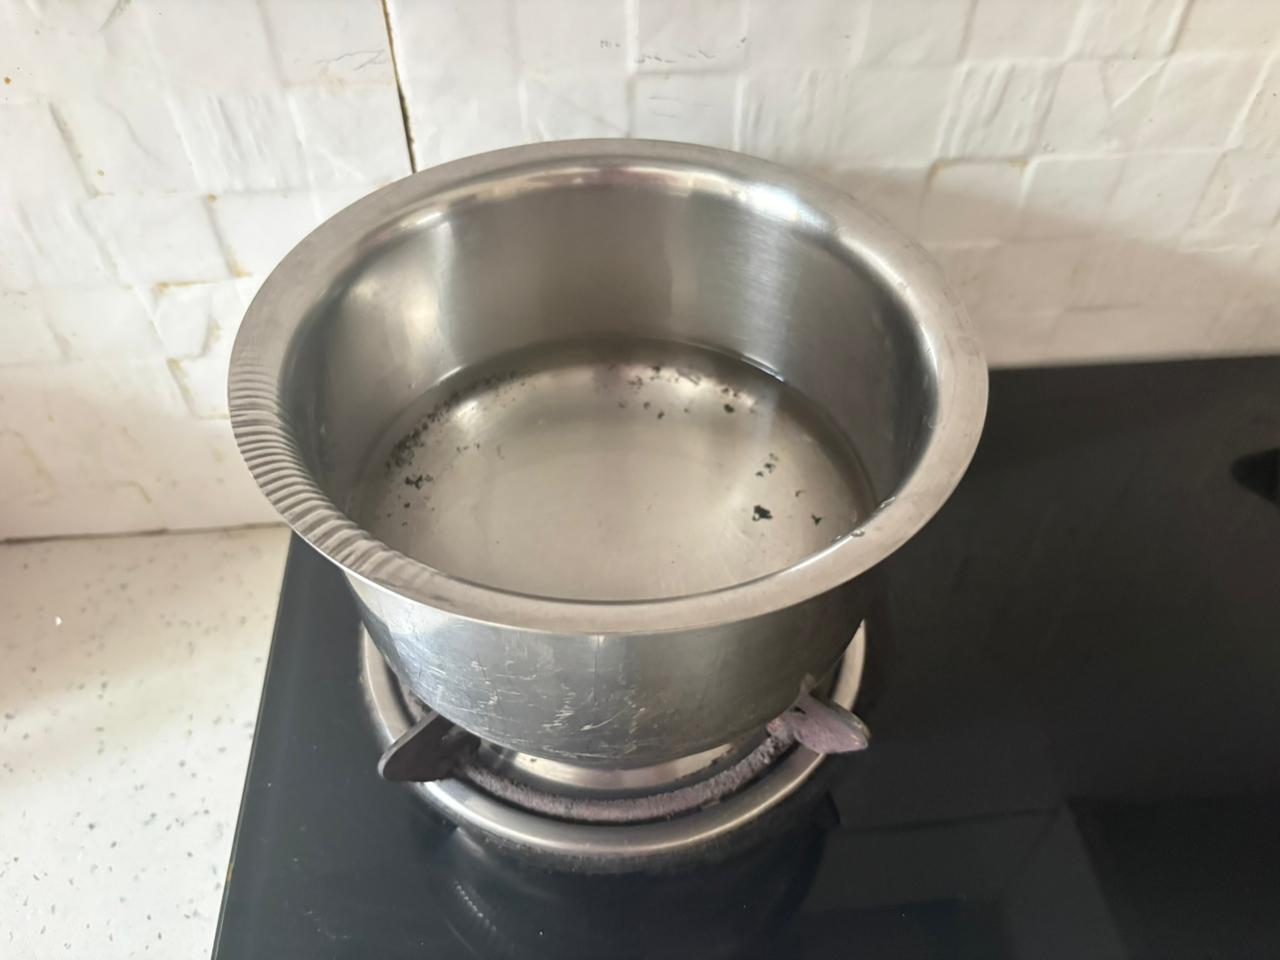
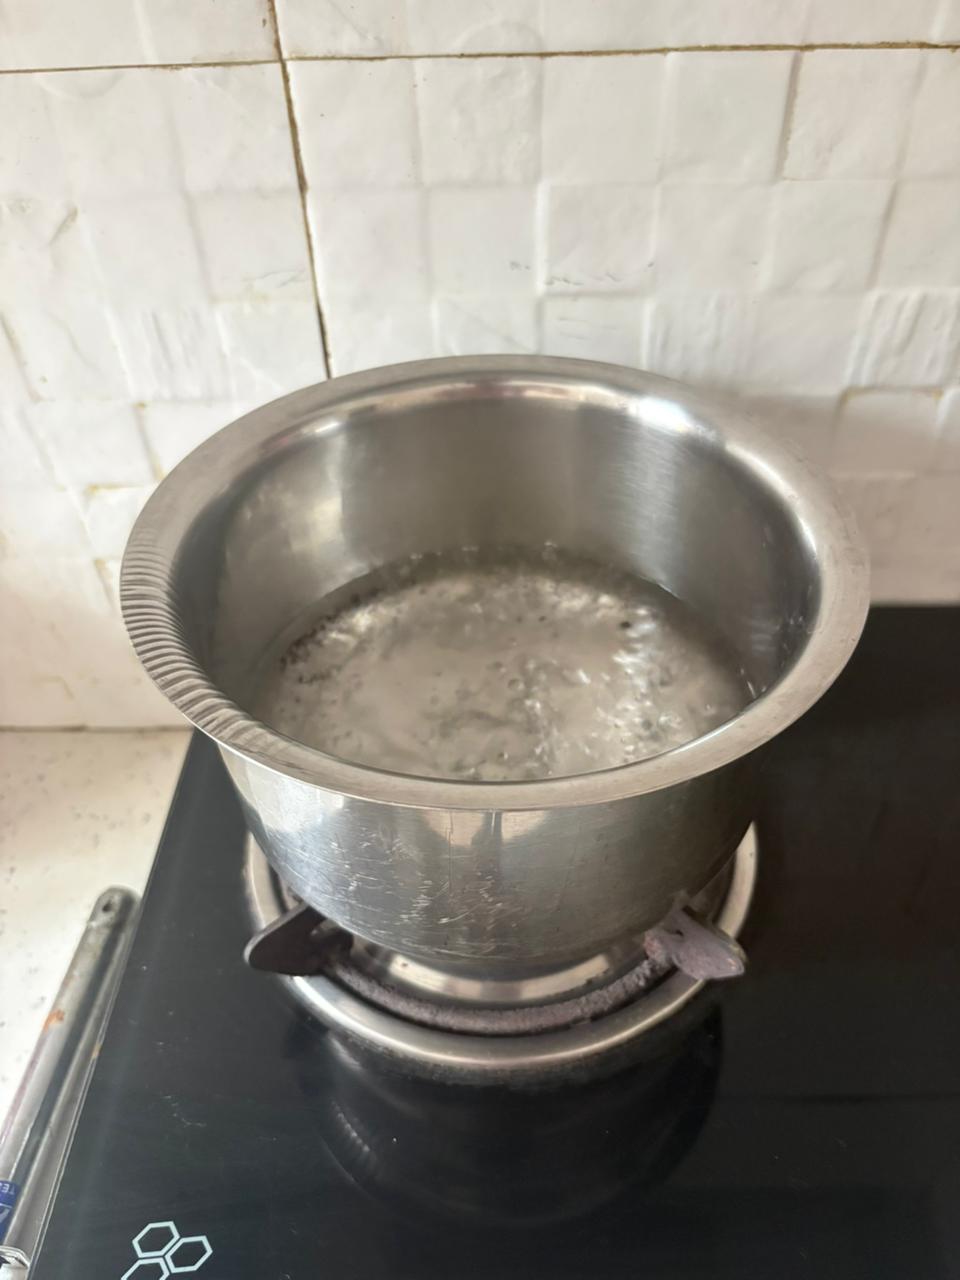
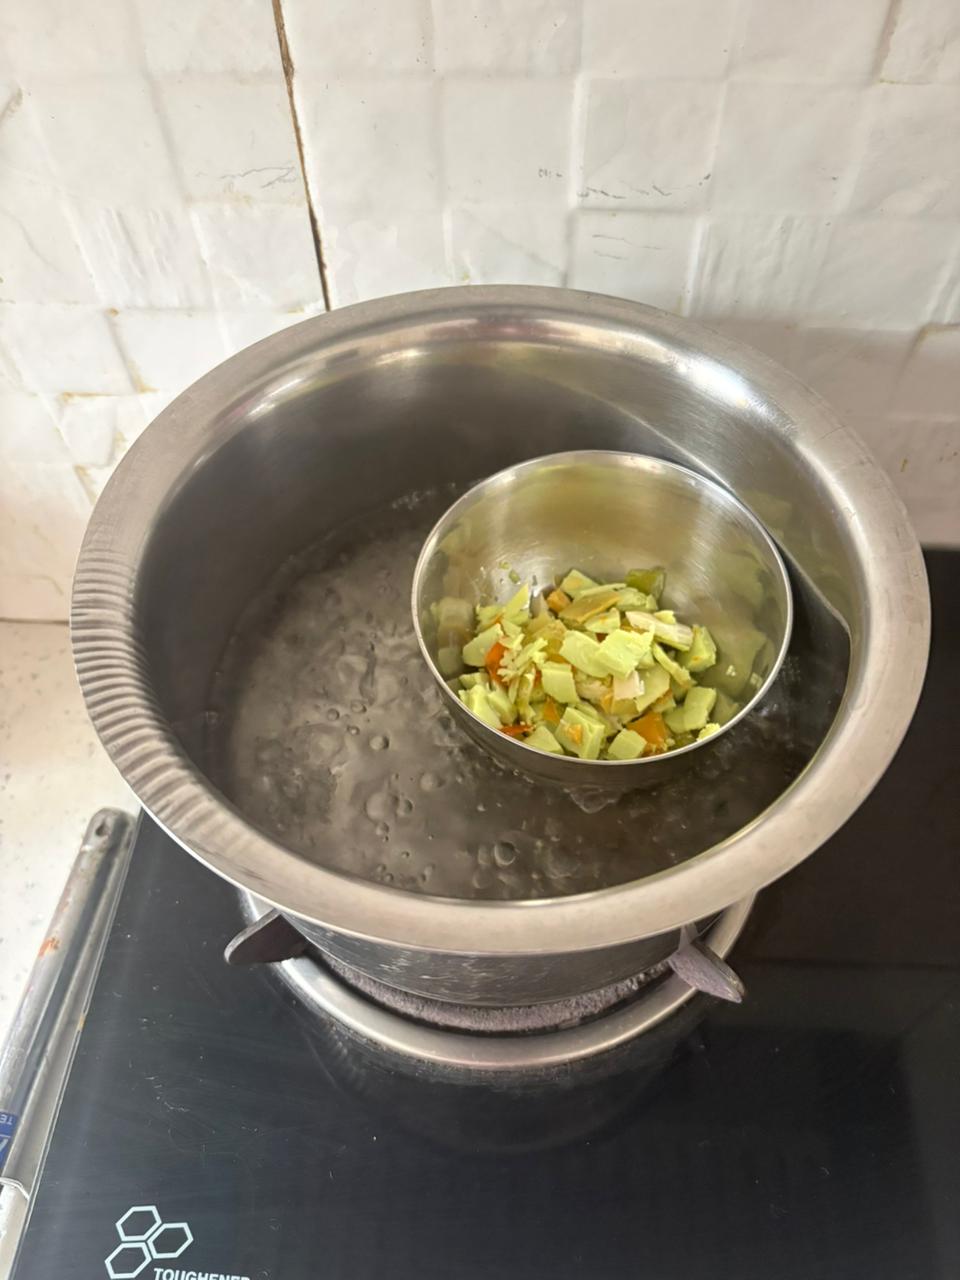
Next up, we setup a double boiling setup. A big metal bowl, with a small bowl floating over boiling hot water. Meet the water as it becomes boiling hot over time.
Now, its time to place the soap bowl in here. Lets goo! It is emitting sweet-soapy fragrance. Wowww.
Now that the soap is in, I thought about waiting for a while. I was hungry, so prepared breakfast, and scrolled some reels. In between I came to check back, and it wasn’t changing very fast. I went back to Gemini, and it said it should take 10-15 mins at max. A mushy mixture is expected.
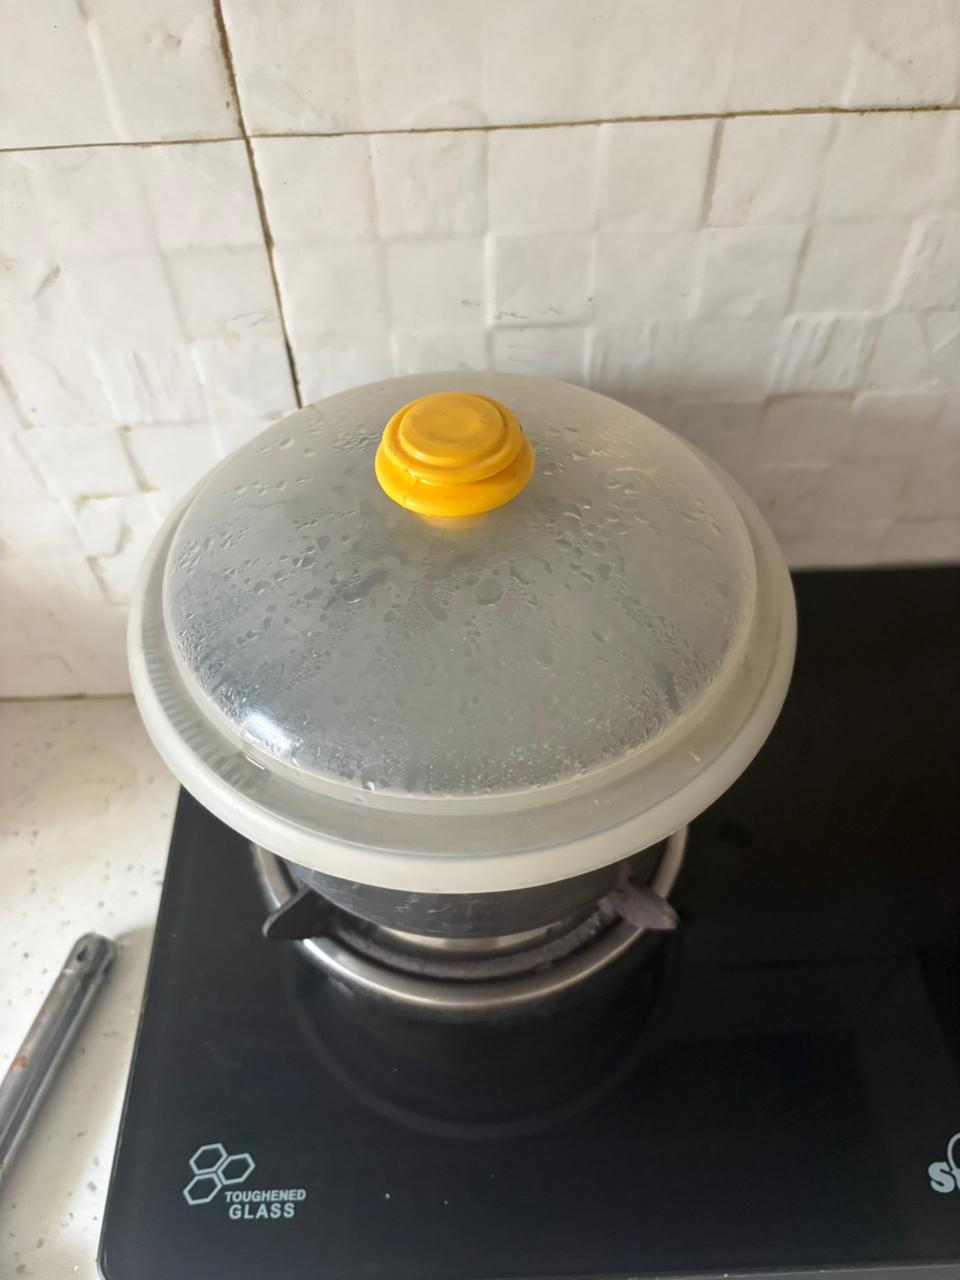
So we figured out that heat is escaping. Decided to cover the bowl. Also, not to forget, few tablespoons of water were added to soap to assist melting. The covered bowl (not very aesthetic I know).
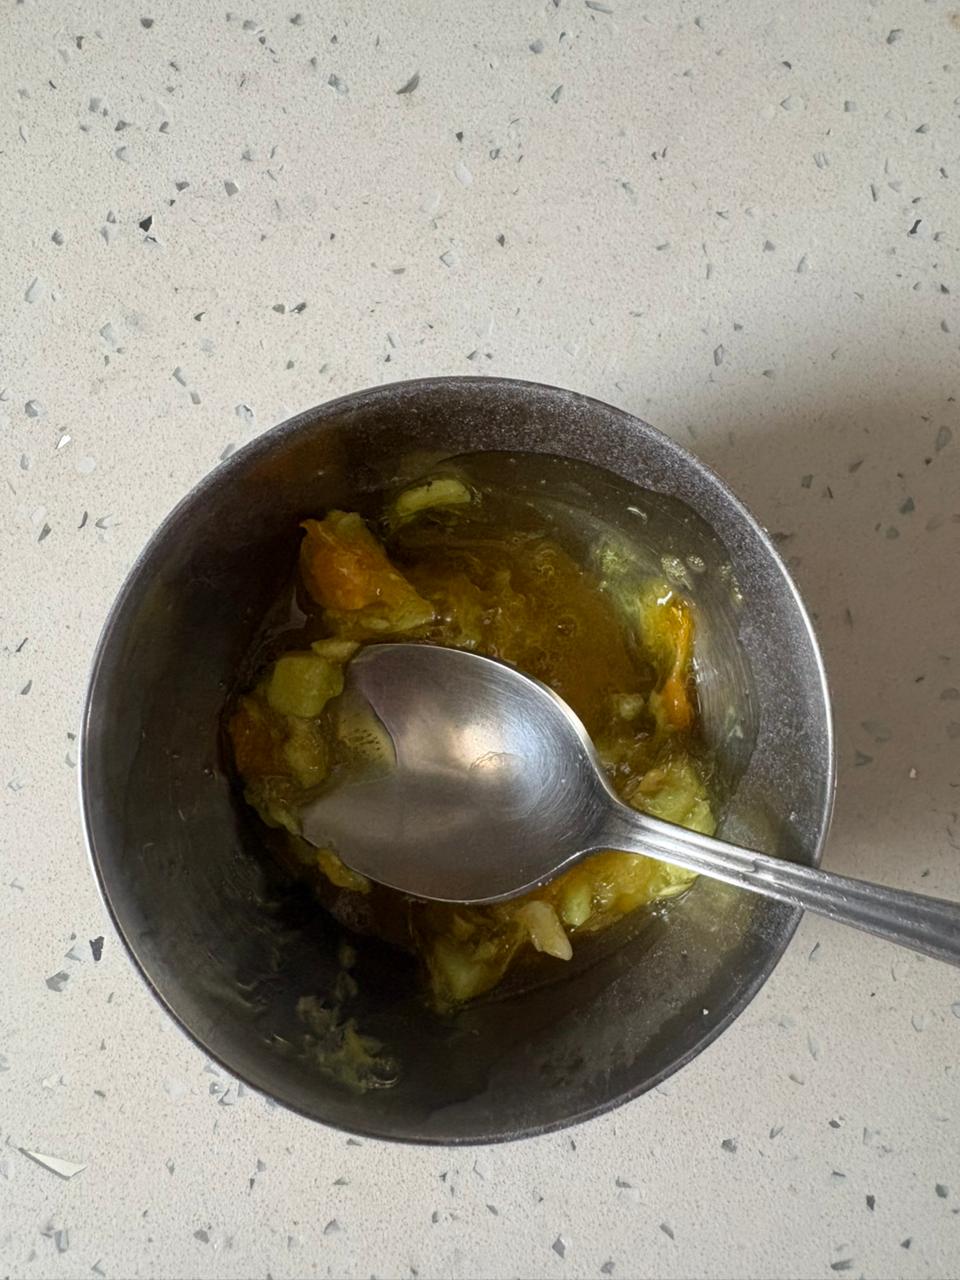
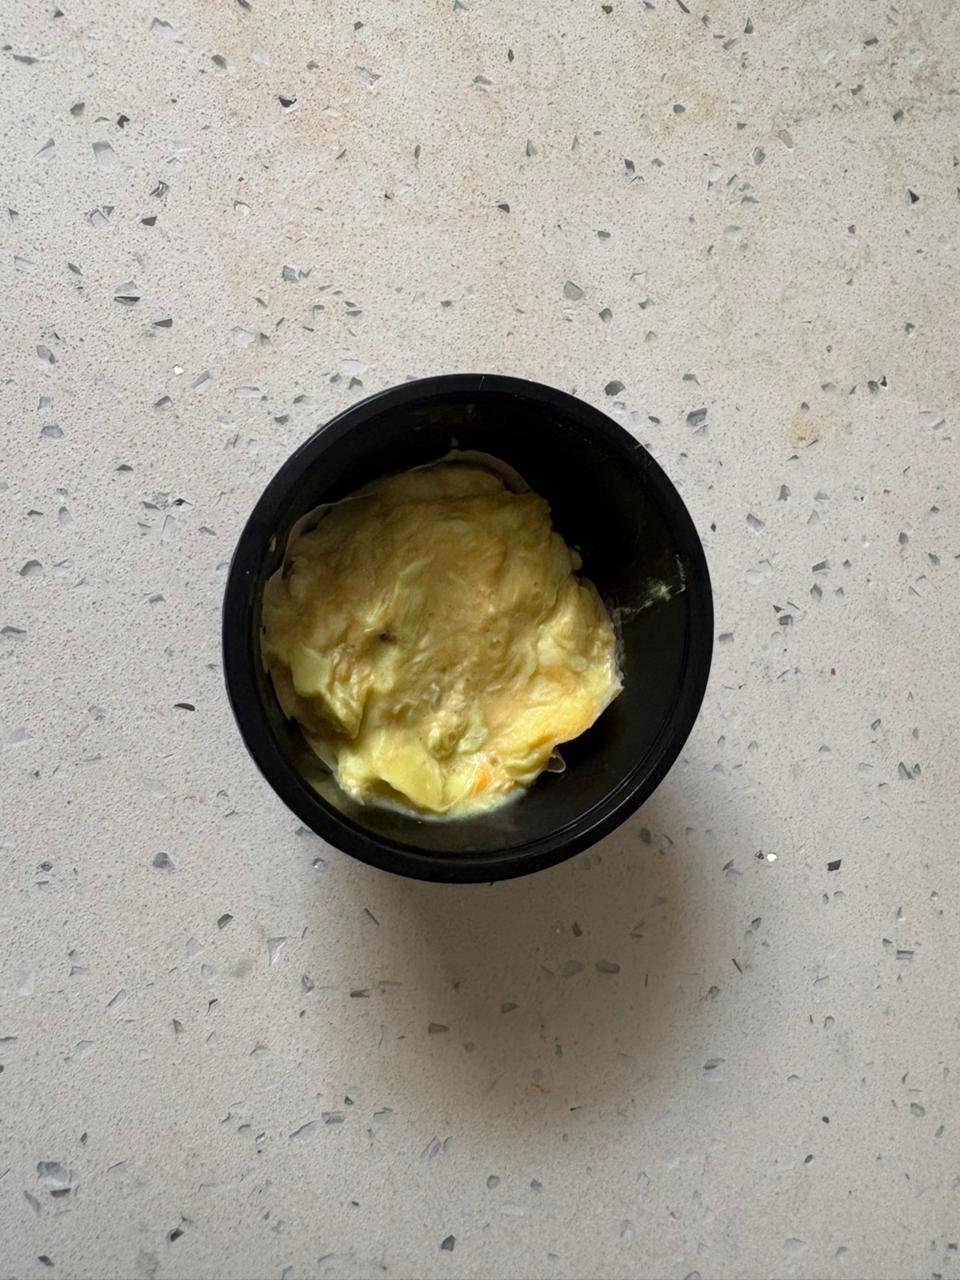
I happily binged youtube for 30 mins, and came back to see our mushy soapy mixture. Here is how it looks.
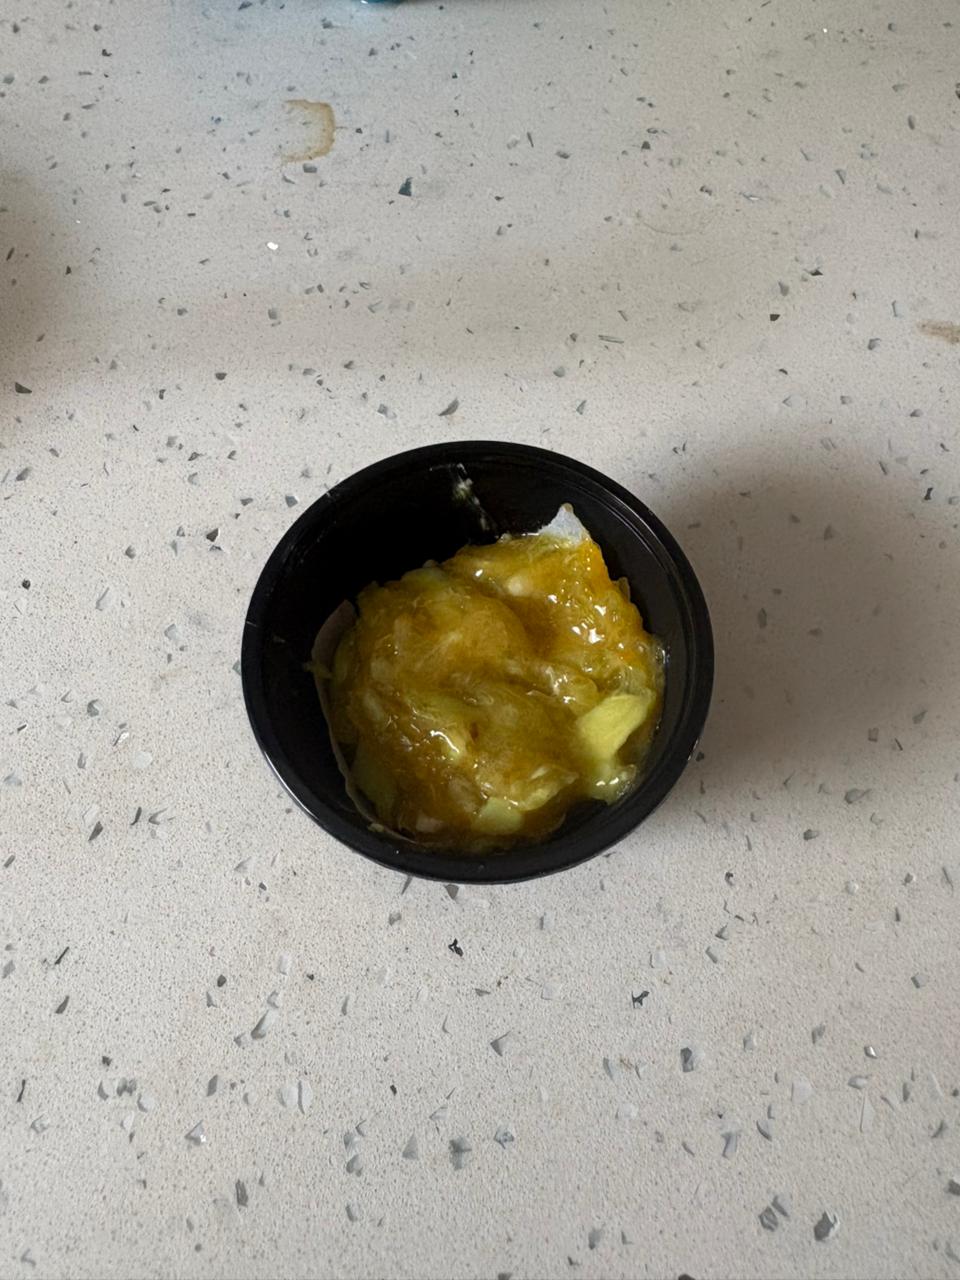
Next up, took a chutney plastic cup to mould the soap. Kept a butter paper at the bottom for easy taking out.
We are almost done. I kept the cup in room temperature to cool down for about 2 hours, and then into the refridgerator.
Aftermath
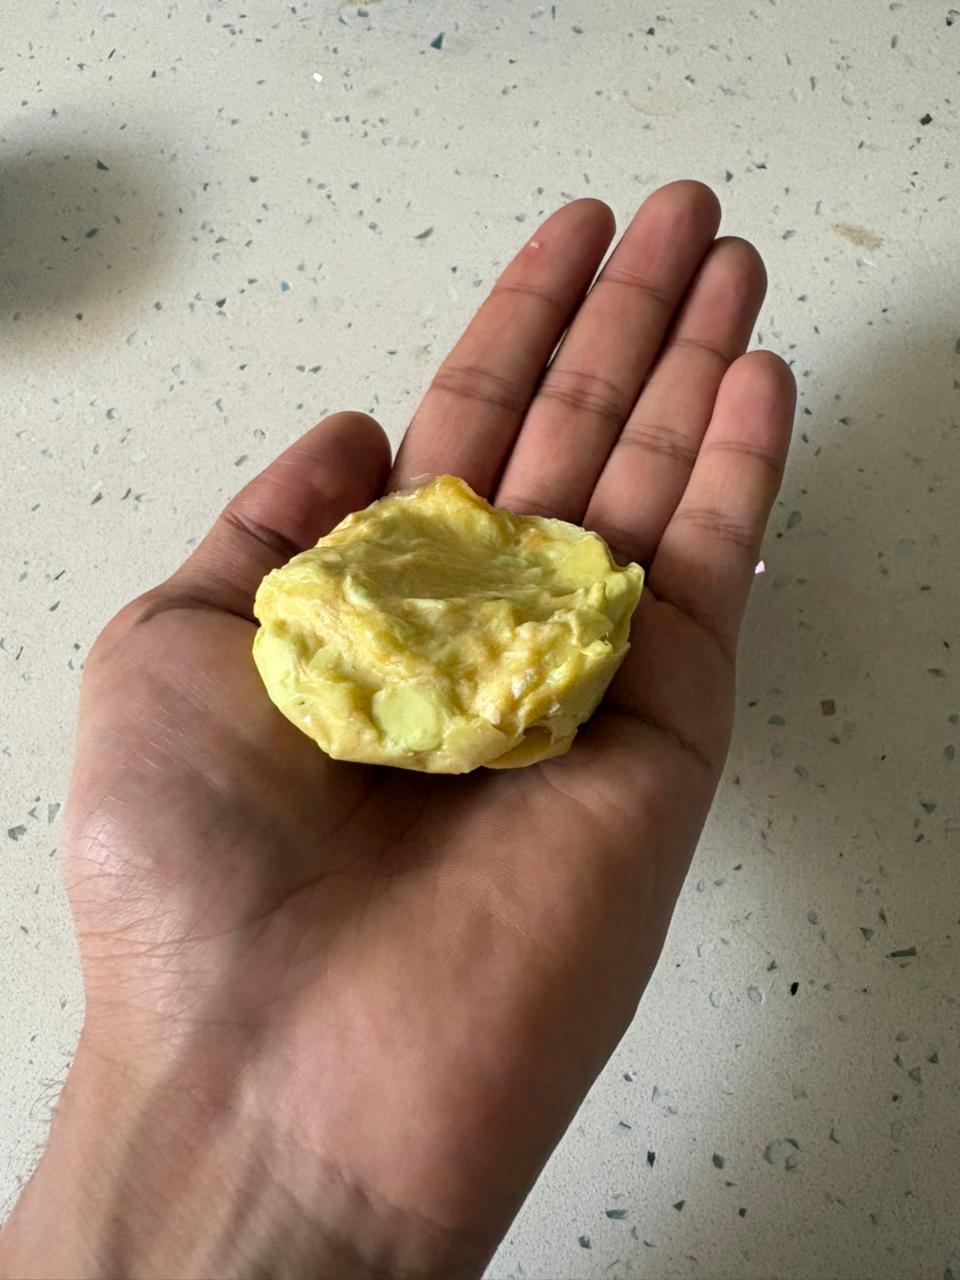
Its been a whole day. And we take our soap out. It has lost its shine, and got a nice soap-matte type texture.
And here is the final SOAP!
Concluding, it was a nice little experiment. The soap could be a little bigger next time, and we can look for more profound mould shapes. I will use this soap for washing hands. Sayonara.